
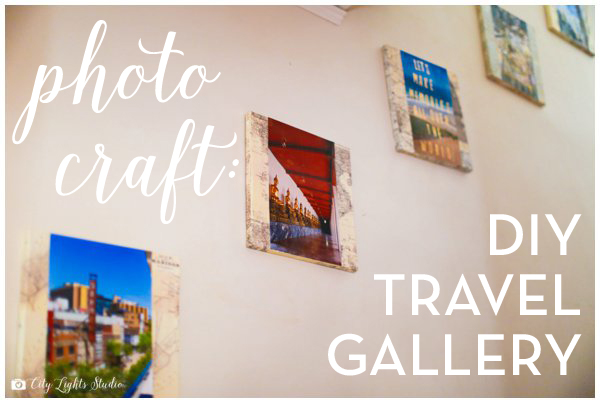
In addition to professional prints and designer albums, there’s much more that you can do with your gorgeous photos. We’d love to share some inspiration & show you different, easy-to-do projects. This month, we’re featuring a creative travel print gallery wall!
My husband & I love to travel, and we rarely buy souvenirs, mostly because we love to take photos instead! We finally decided it was time to put together a gallery of favorite shots from our best trips. We knew we wanted to do something besides just framing them, and wanted to incorporate vintage maps, so I played around with canvases, prints, and my beloved Mod Podge. Read below to see how you can make your own!
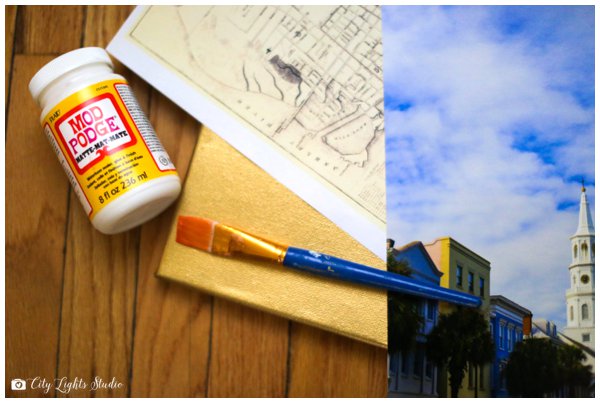
Supplies needed :
- 12×12″ canvases (you can find in multi-packs)
- 8×12″ photo prints
- Printed vintage maps
- Rub-on transfer letters like these
- Wide paint brush
- Mod Podge (aka crafter’s crack!)
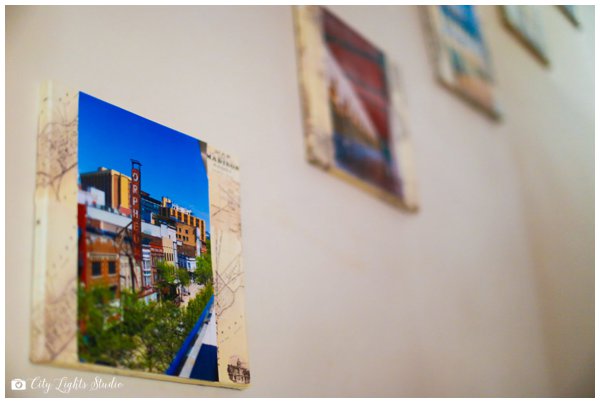
 Start by choosing your prints, and then finding corresponding maps. I pulled royalty-free maps from Google searches (tip : Do an Google image search, select “Search Tools” and pick “Large” to guarantee your map will print clearly. You even select black & white images only, if you don’t have Photoshop to adjust coloring). Begin to glue the map down, using the Mod Podge (which you can use for almost any craft project! I adore this stuff, clearly haha). I covered old canvases with paint on them, but you can apply directly to new canvas. Keep in mind, the photo print will cover 8″ width of the canvas, so you only need to cover 2″ on each side, and the edges. I placed the maps so the name of each city was visible in the finished product. Feel free to tear the edges, and get creative here!
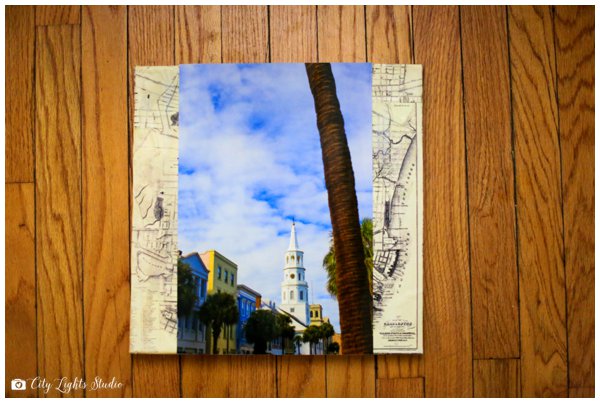
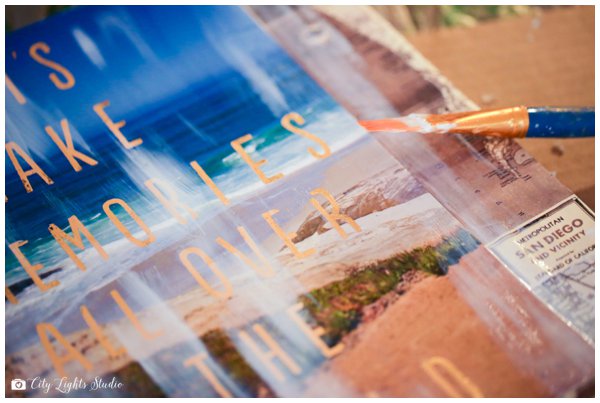
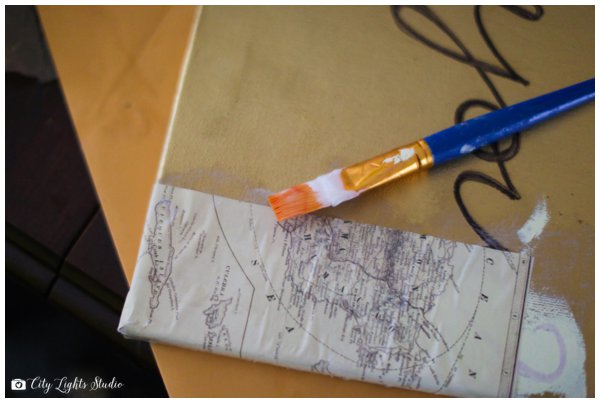 Once the edges are complete, you can glue your print on top. I eyeballed the middle of the canvas at added Mod Podge under the print to secure. I then did a thin layer on top & over the edges to seal.
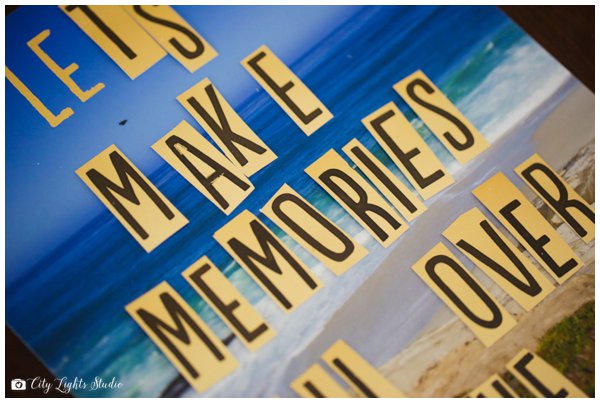
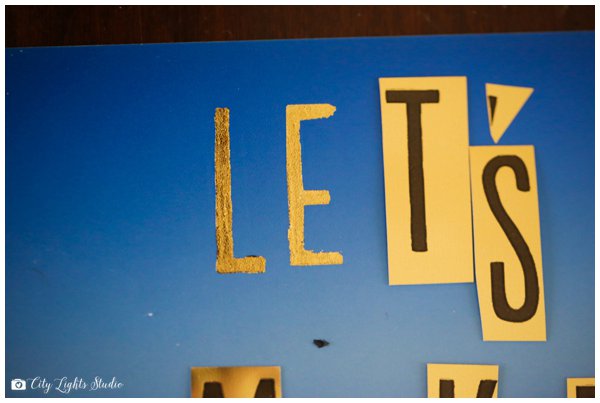
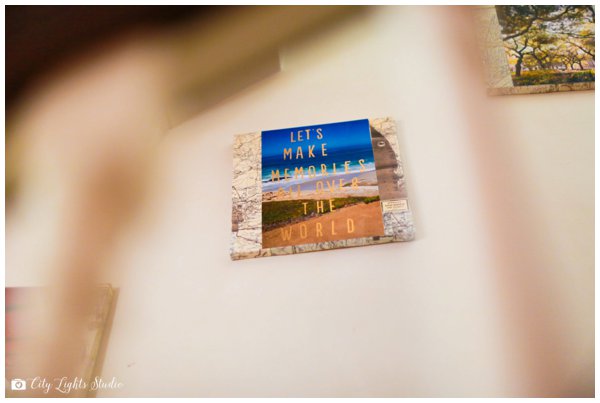
 For the final touch, once the Mod Podge had dried, I added gold rub-on transfer letters on top of one of the most simple photos (a beach shot from San Diego). I cut the letters out, placed where I wanted them, and began to lightly rub over the text to transfer the gold onto the print. My husband said it looked like I was writing a ransom note (I see it now…) but it turned out adorable!
 Lastly, I did a final coat of Mod Podge over the text to seal the lettering in.
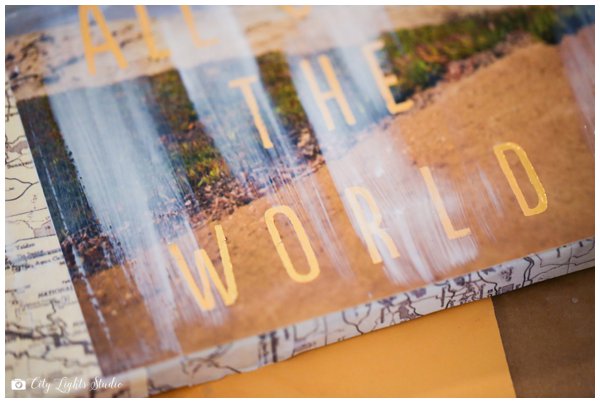
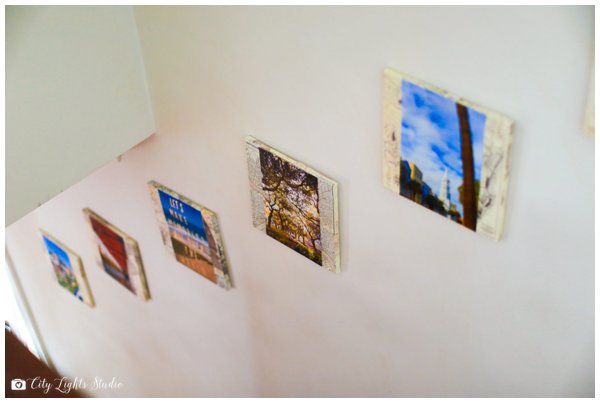

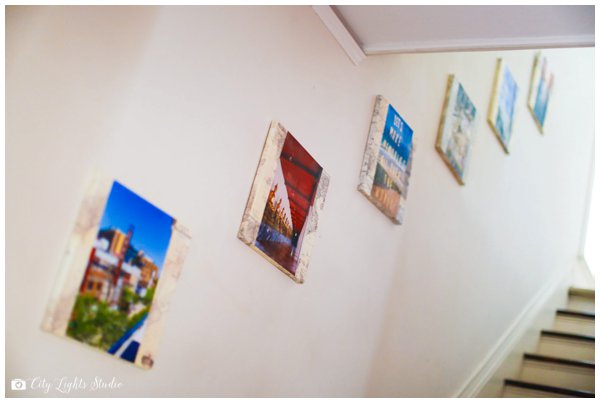 Once they’re dried, hang ’em up & show ’em off! We made eight, displaying Madison, Thailand, San Diego, Grand Canyon, New Orleans, Charleston, Puerto Rico, Miami, and soon we’ll be adding Iceland 🙂 Overall, the project was a little messy, but gave us a vibrant and unique gallery of some of our favorite vacations, to enjoy everyday. I love how they came out! If you try this project, I’d love to see the end results!